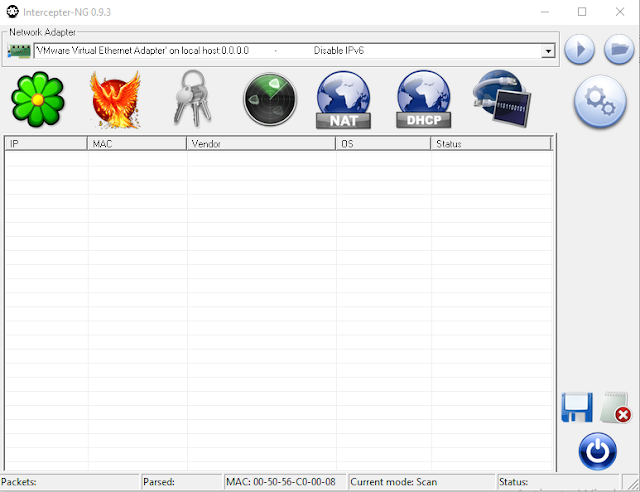
You can get it from here
How to use it:
1. Download the Windows tool from the author's web site. I highly recommend you to neverdownload it from other sources, as it could have been altered with malicious content.
Unzip it to any folder and run the file Intecepter-NG.exe.
2. Access the Settings button (with small gears symbols). Uncheck the Spoof IP / MACbox, located at the upper right corner. Press the green check symbol to apply the change. You have to do this every time you run the tool, as it is not automatically saved.
If you want to hide your identity on the network, use some other MAC spoofing tool.
3. In the Network Adapter field, make sure your local card is properly selected.
4. To identify the other computers on the Network (your potential victims), right-click on the grid. In the contextual menu, select Smart Scan.
5. Right-click on the computer identified as Stealth IP in the MAC column. In the contextual menu, select Add as Stealth IP.
6. Identify the device used as "Gateway" on the network (the device connected directly to the Internet link). To do this, hover the mouse on an empty part of the grid. Right-click and select Discovering Gateway.
7. Activate the communication capture by pressing the Start / Stop Sniffing button (arrow-shaped, in the upper right corner).
8. Select the victims you want to spy. In this example, these are the following IPs:192.168.1.64, 66 and 67. Right-click the victims and select Add to NAT.
9. To initiate the actual Interception, click the NAT button. In the MiTM Options section, press the Start/Stop NAT button (arrow shaped) and then press the Start/Stop ARP Poison button (radioactivity symbol)
10. That's all! To view the Windows Live Messenger conversations, just click the flower-shaped Messengers Mode button.
Messages from the person initiating the conversation appear in red. Responses from the other individual appear in blue. The ID column shows the Live Messenger Account in use.


0 comments:
Post a Comment